The 5 step guide to the production process for making Prestressed Insulated Wall Panels
Credit: Original article published here.
- Layout– First the lengths and the widths of the pieces need to be laid out and set up. This is done on one of our prestressed forms, our forms have hydraulic side rails-which make it more efficient when it comes time to remove the forms! Once they are set, any other opening-window, service door, etc will be laid out as well and put in the panel.

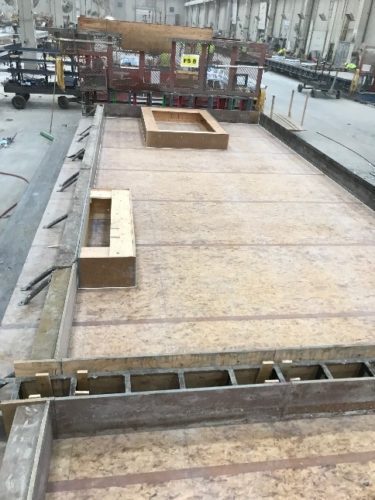
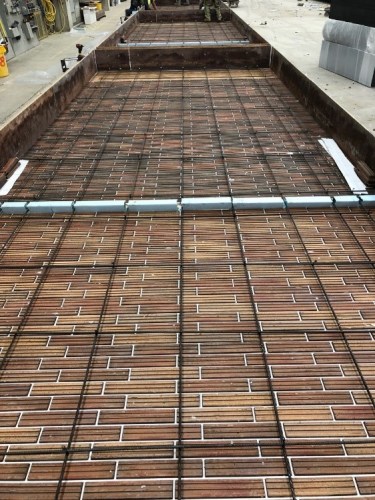
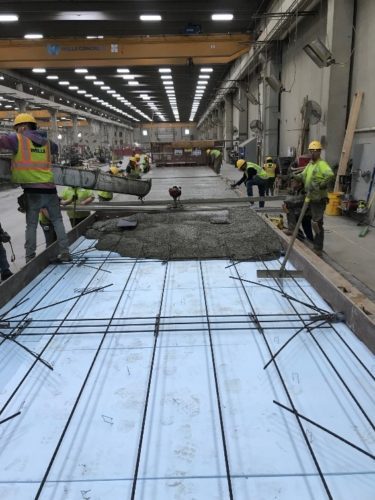
- Strand and Reinforcement– Once all the overall measurements are set and openings are in, the form will be oiled and then strand pulled, and then tensioned. Following tensioning, all of the reinforcement-rebar-will be added and tied in for that layer.
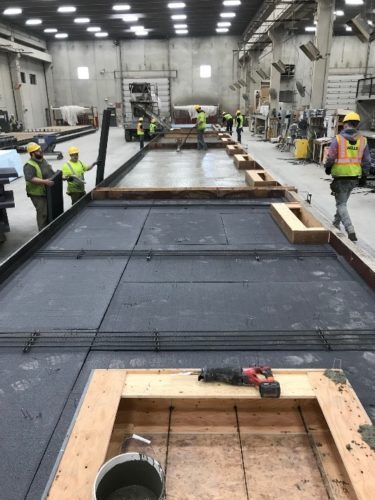
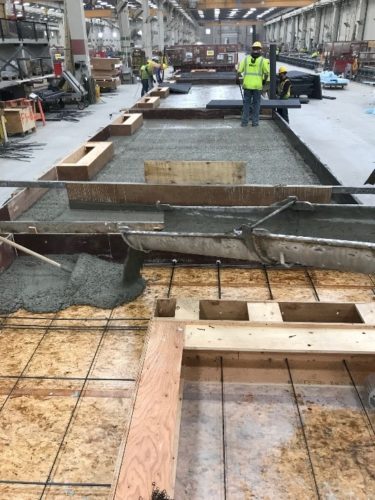
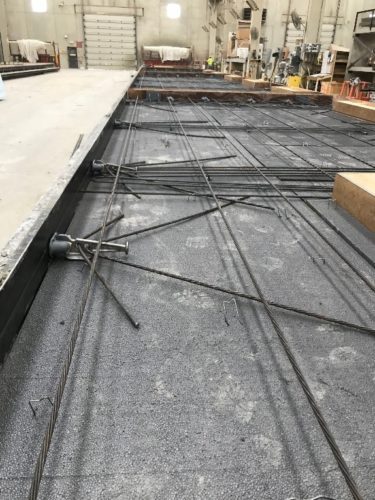
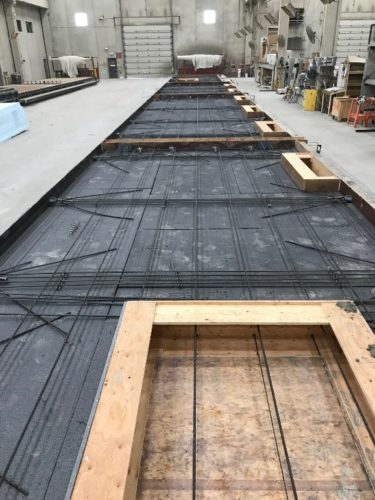
- Pouring and Insulating– After all the rebar is added and tied in, the architectural concrete can be poured. Once it is poured, it will first be screeded off and then vibrated to ensure proper height and consolidation. After this is complete, insulation will be added and wythe connectors will be-this is down to ensure the panel with hold together.
- Structural Reinforcement– Before the structural concrete can be added to the panel, all the structural reinforcement must be added, and an additional layer of strand. The strand will be tensioned, just like in the architectural layer, and then all reinforcement will be tied in.
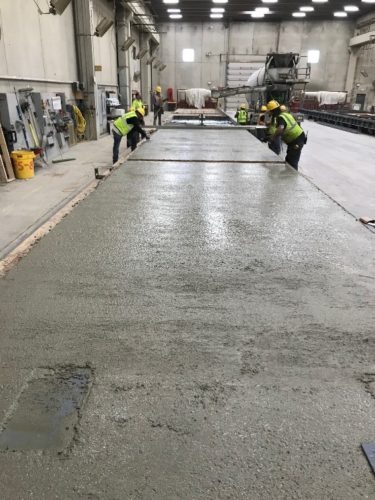
- Pouring and Finishing– After all reinforcement is tied in, a structural mix can be poured to finish the panel. This concrete will be screeded and vibrated-similar to the architectural layer, then any screed face plates can be added. After all plates are added, the concrete can be finished to any desired level.
Matt Everding
Director of Operations
The post The 5 step guide to the production process for making Prestressed Insulated Wall Panels appeared first on Wells Concrete.